
This post has been a LONG time coming. As you all probably know, I am a salty-air, sandy-feet, crazy haired, beach loving girl! And my love of the beach translates into my photography. I photograph about 60% of my sessions on or near the beach (though I still haven’t photographed a wedding ON the beach- go figure!). Gone are the days of families in white v-necks and faded jeans. I believe the beach can be trendy and beautiful, airy or dramatic; as a photographer, a beach scene is what we make of it.
Now shooting on the beach is HARD. There are the obvious challenges of sand sneaking in to every nook and cranny, as well as some intense lighting challenges. After receiving too many messages to count asking me for tips for working on the beach, I’ve decided to share everything I’ve learned here.
Tips for Shooting at the Beach
1. Timing is everything
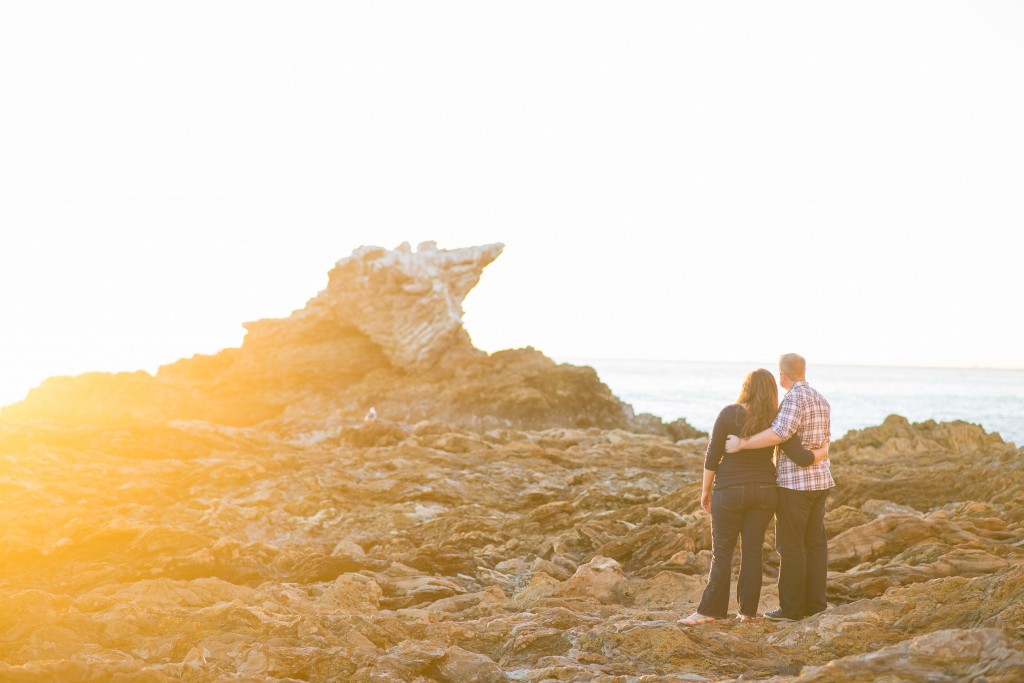
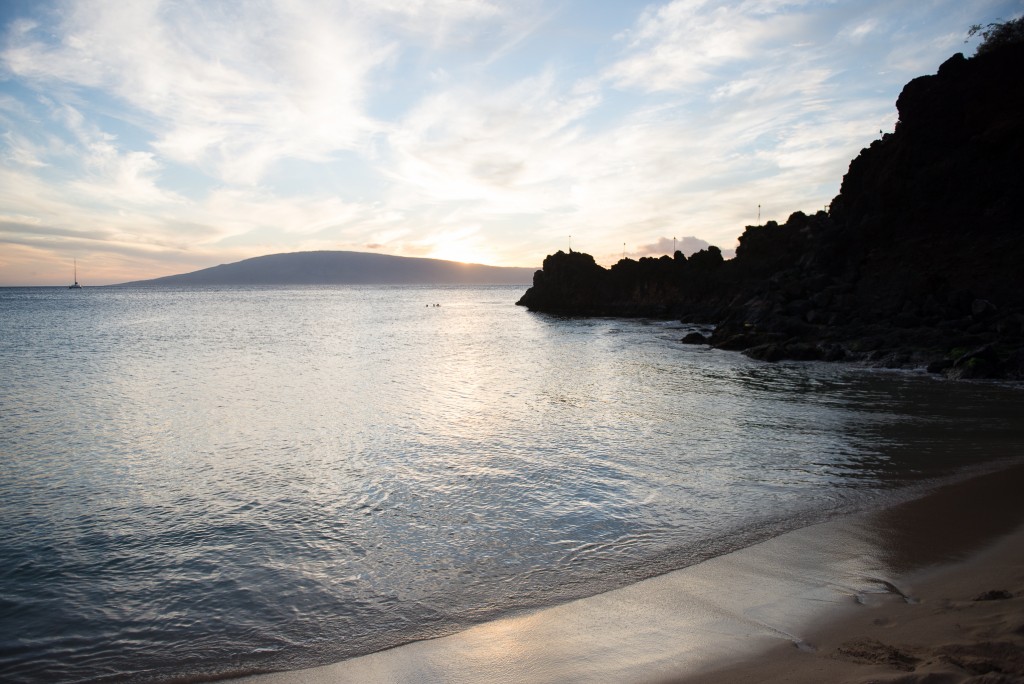
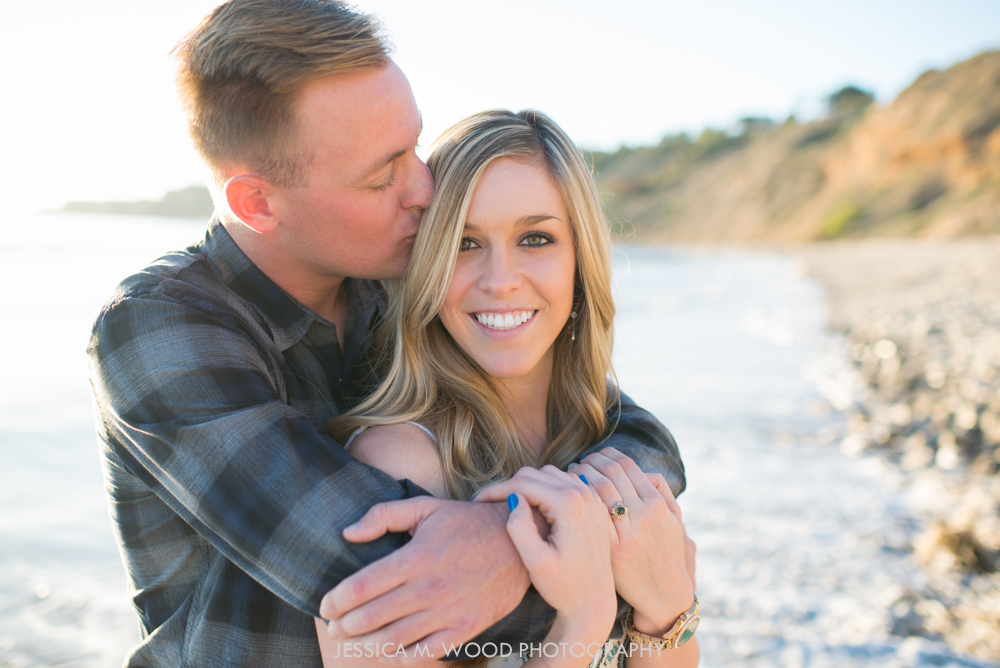
As a natural light photographer, I always schedule my sessions based on lighting. Typically this means my sessions start an hour after sunrise or an hour and a half before sunset. (Important Note: I am on the West coast so the sun sets over the water. I’m going to focus on mostly afternoon shoots in this post.) However, on the beach the “good” warm light starts about 45 minutes before sunset. Starting earlier will lead to cooler tones in your images like this:
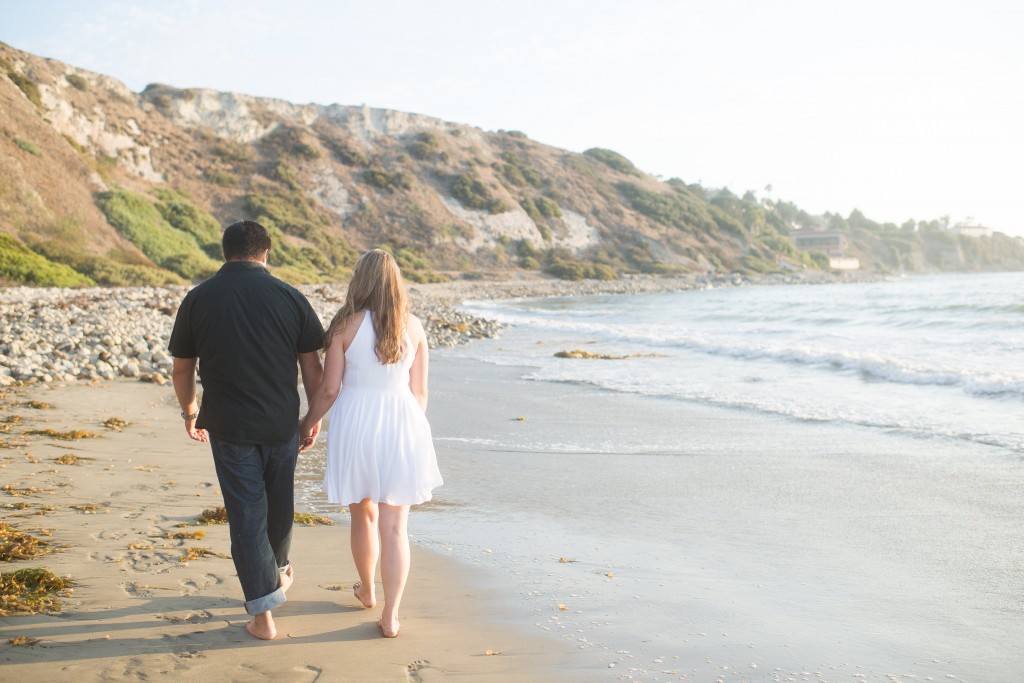
If you are forced to start earlier, see # 4 below.
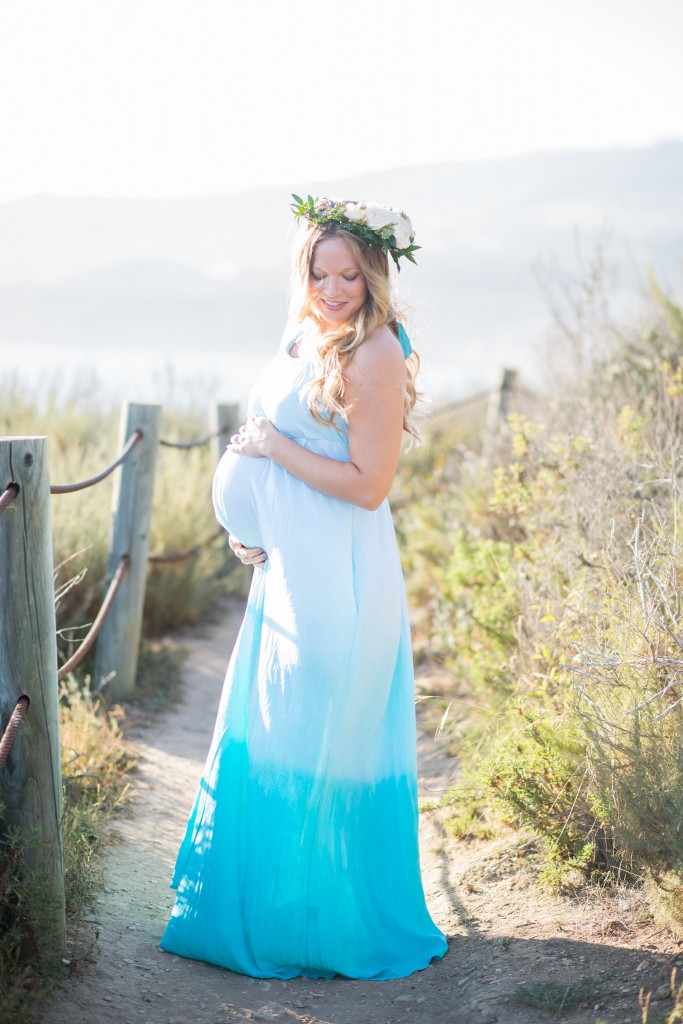
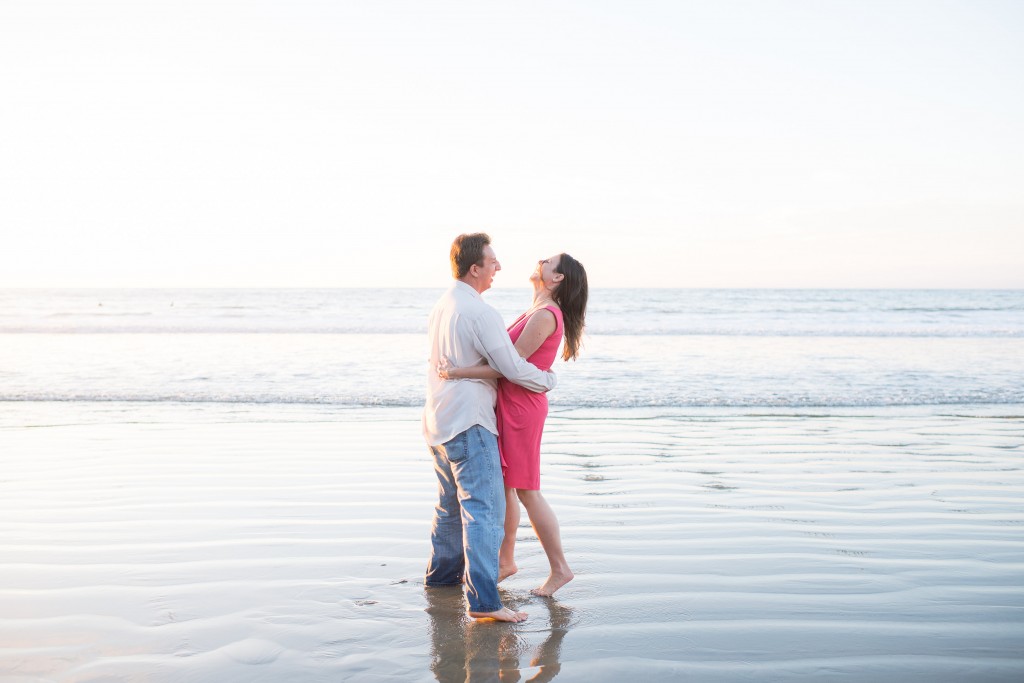
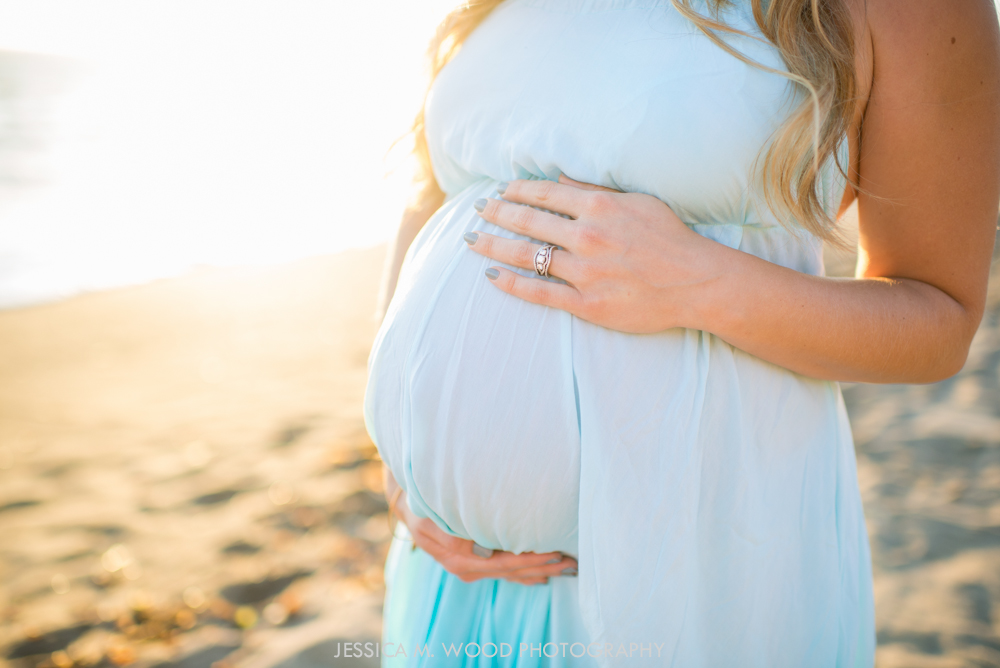
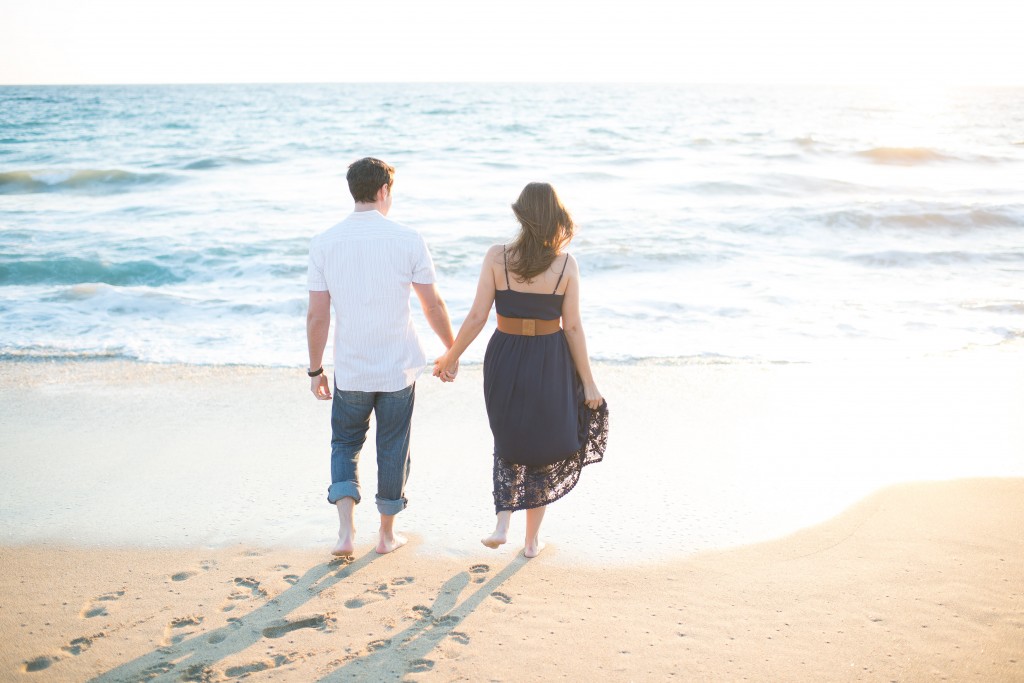
My favorite time is the last 10 minutes of sunset, when the sun is on the horizon. The next two images were shot within minutes of each other, but are completely different due to a quick change in my settings.
2. Shooting directly into the sun
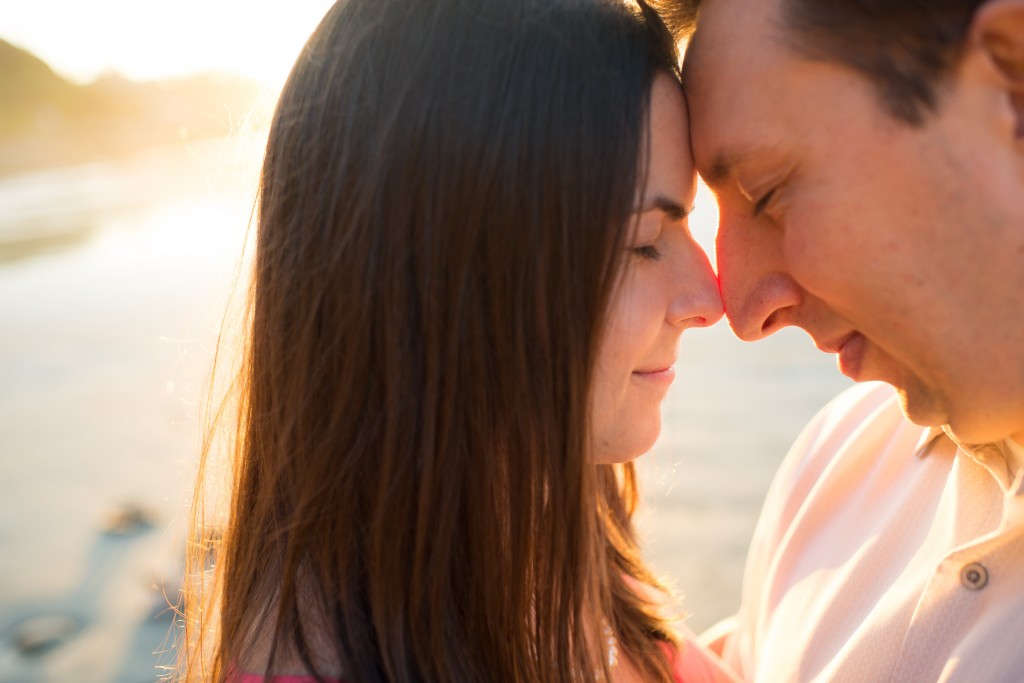
I personally LOVE shooting directly into the sun. I feel it adds a creative flare to the images- literally. In the shot below, I used my hand to block the sun so I could lock focus on the couple, then removed my hand to capture the shot. I only take a few images that are this “flooded” with light.
Another method of shooting directly into the sun is using the subject to block the sun, focus, and the slowly move to the side to allow some light to peek through. For example:
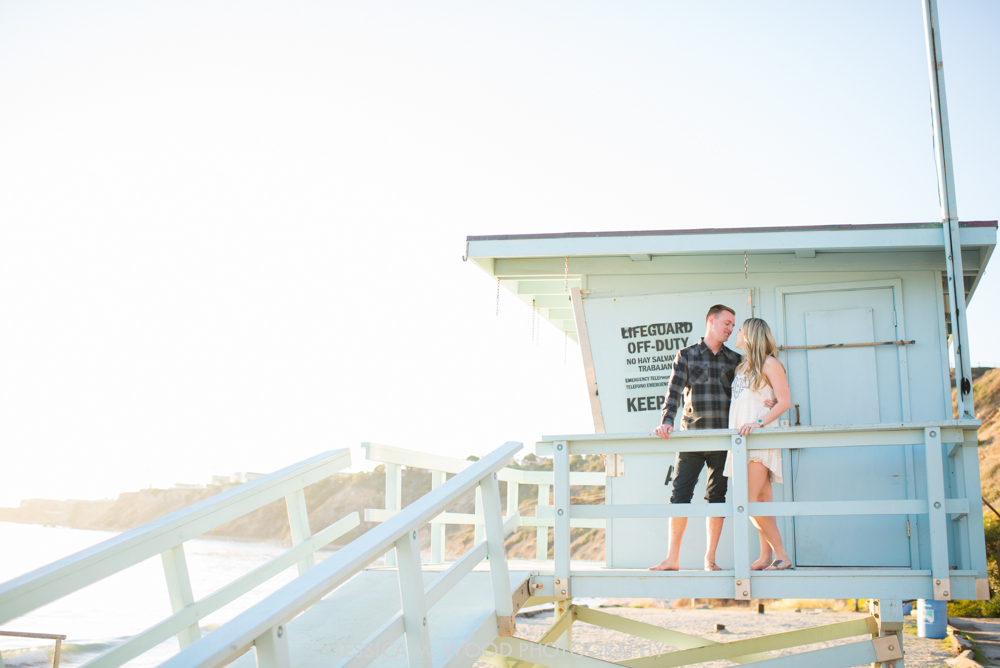
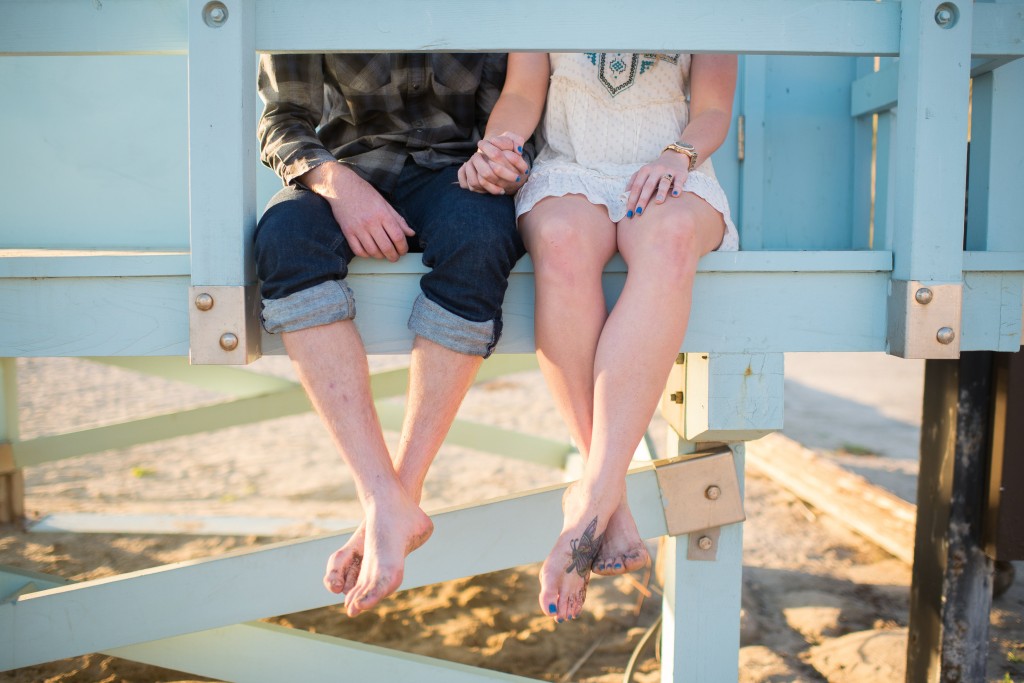
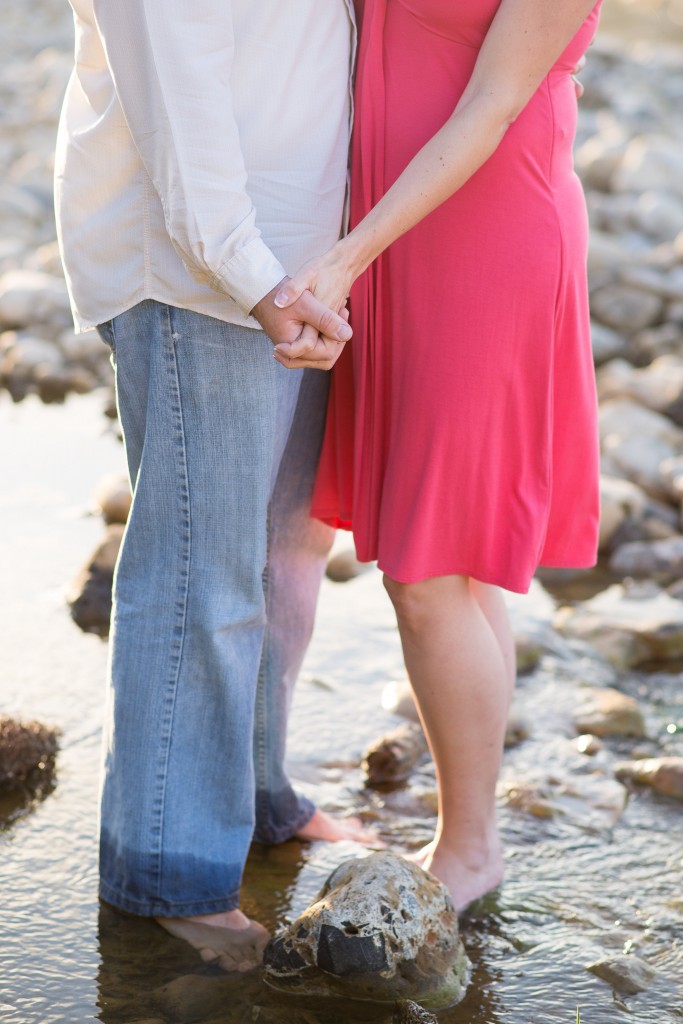
3. Variety is key
Every beach has two things: sand and water. It can really test your creativity just using those two elements, so I will look around to find other things to use. I love rock jetties, piers, and lifeguard towers. They add the perfect variety to an hour of shooting on the beach.
4. Blocking the sun
Blocking the sun allows to to achieve light-filled images that are not blown out (aka theres too much light). There are two different ways I block the sun…
1. Using an object to block the light
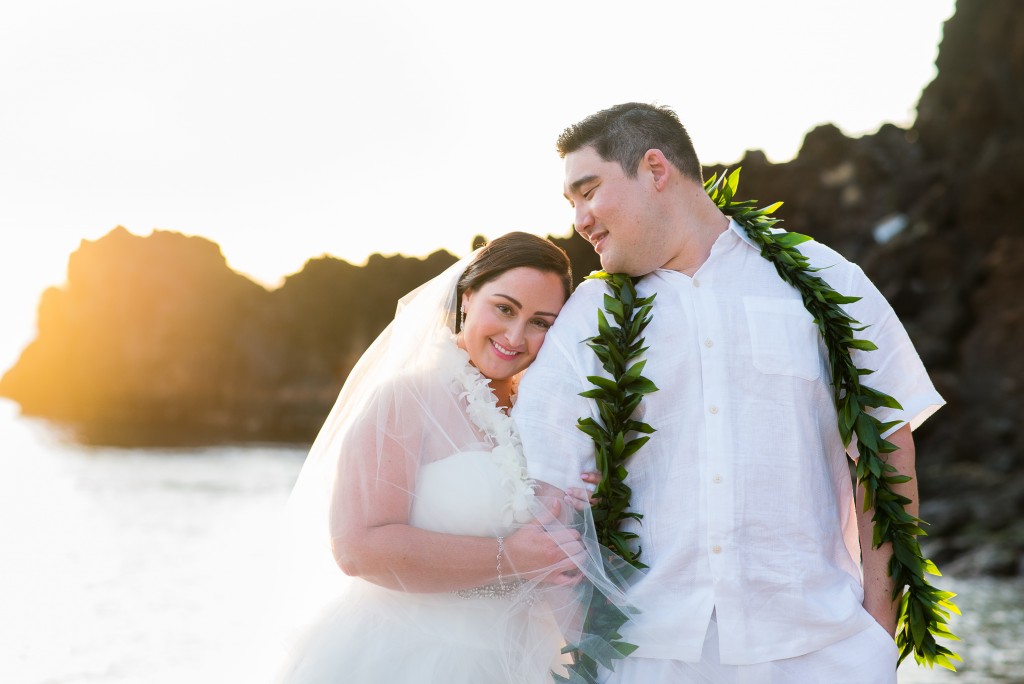
Below is the scenario I had to work with at a wedding on Maui:
 24mm | f/2.8 | 1/2000 | ISO 320
We had a small beach to work with and the sun was setting behind a neighboring island. Essentially the island was doing the work for me, but I also set up my shot to use the black rock to block the sun from the couple. This allows them to be lit up but not blown out. (And yes shooting like this DOES blown out the skies. I prefer this shooting style rather than using a flash to fill in the light)
 85mm | f/3.5 | 1/200 | ISO 400
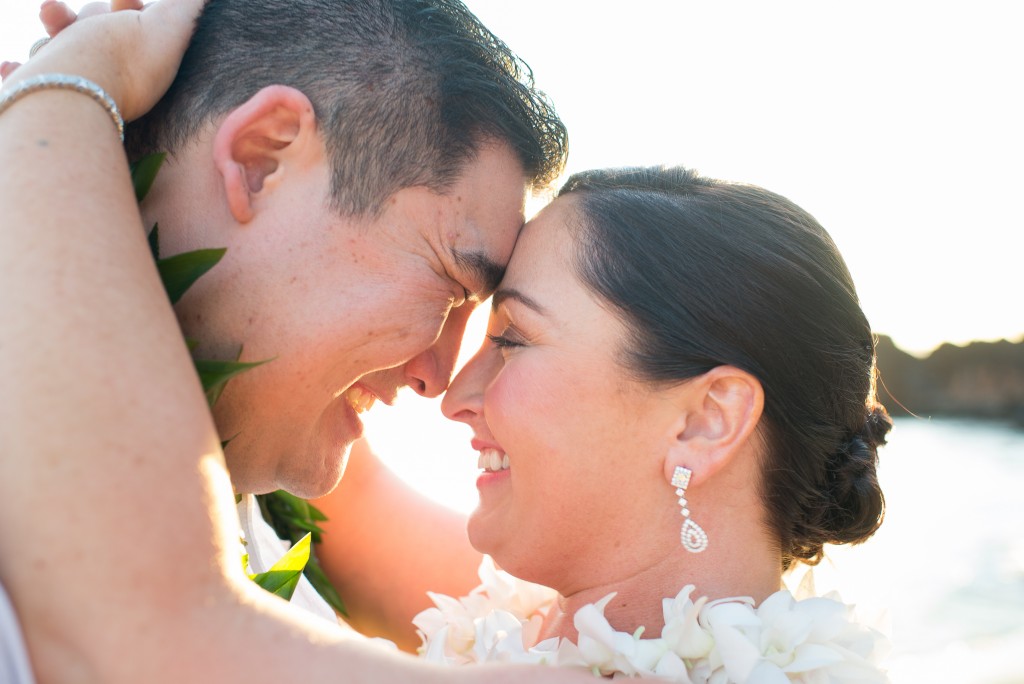
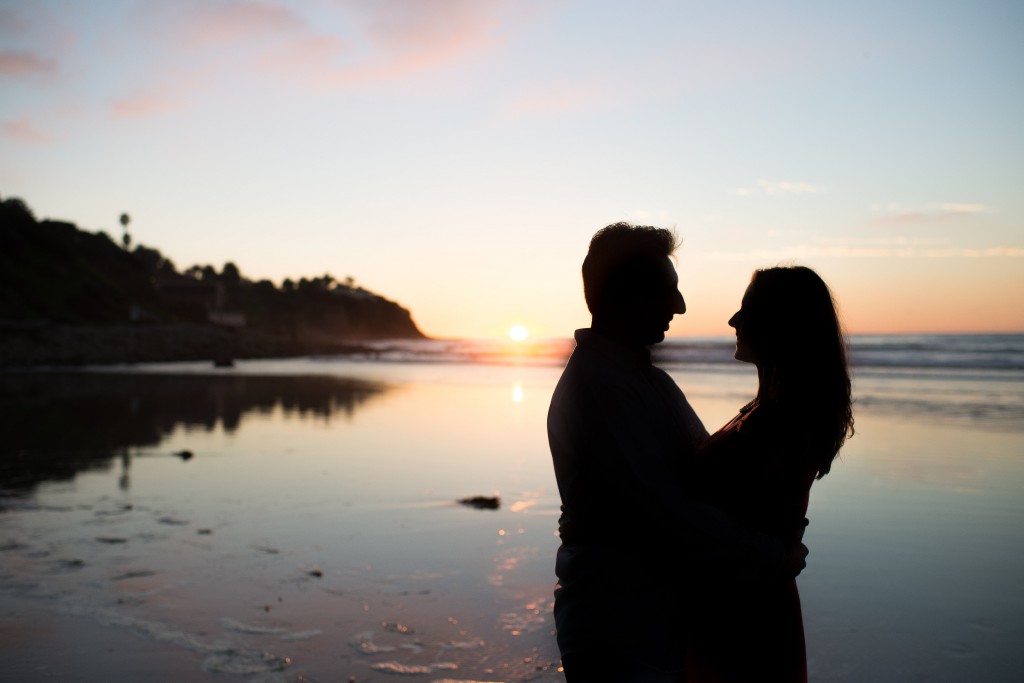
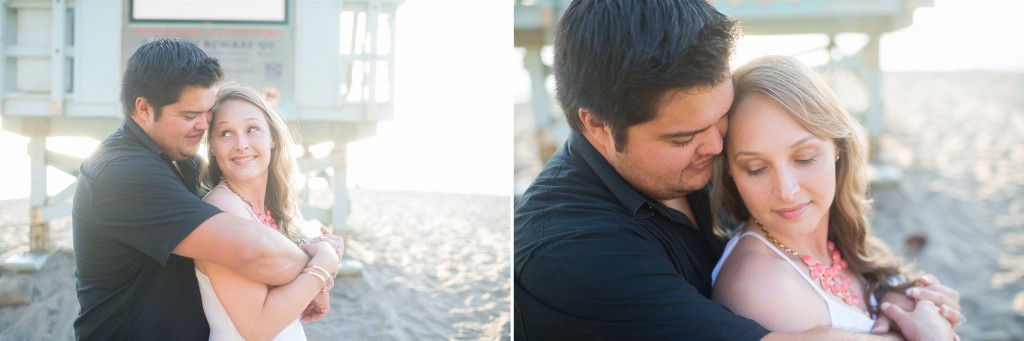
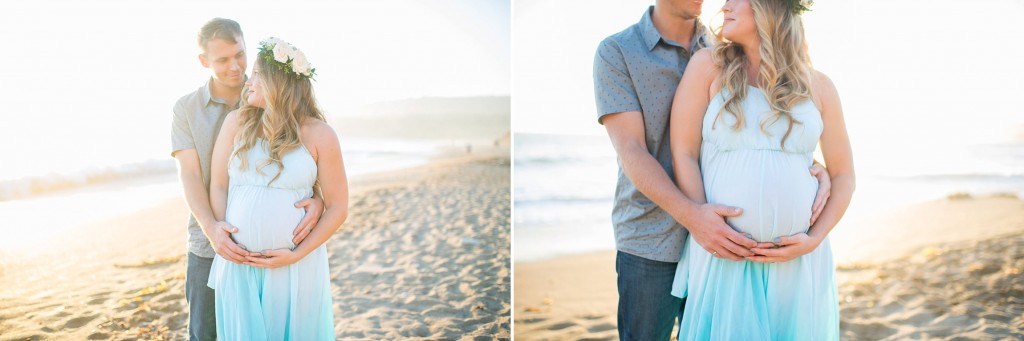
2. OR use your subject as a shield
The summer sun was still fairly high so I had Dennis (the taller subject) put his back to the sun and block it from drenching Kelcy in too much light. If he were to pull away from her, half of her face would be covered in white light.
Just like in #2 I was shooting directly into the sun here, but using both subjects as a shield to give their profiles a beautiful rim light.
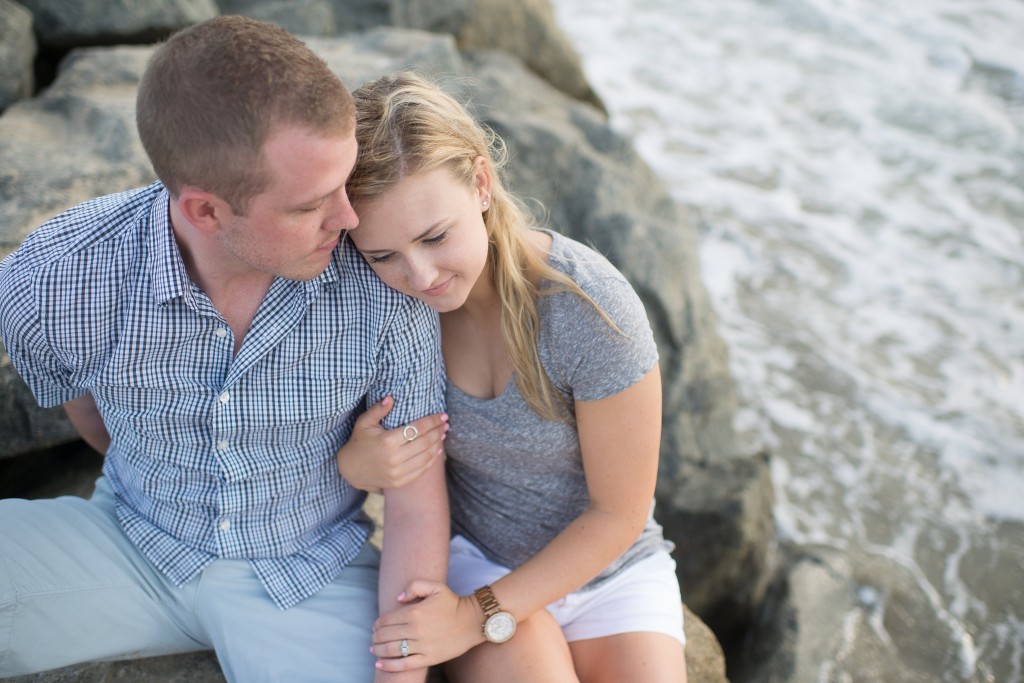
5. Change your angle
Literally. Shooting in a wide open space can feel mundane. Or maybe the couple is posed perfectly but the lighting in wrong. One of my favorite tricks to is switch my camera to “Live View” and then raise the camera as high as I can pointing it down on the couple.
In the above photo the light was too strong to shoot directly into it, so I chose a longer lens and shot from a small hill. The sun was on the top left, a few inches outside of the frame.
Same situation with the photo below- I stood on a higher point and had the couple walk towards the tide. The sun was on the top right, just outside of the frame.
Above there was a lot of light in the left image, so I rotated to couple to be directly blocking the sun. Notice the change in tones/ contrast and I didn’t even change my settings! (Random tip: I often wear white to beach sessions to help bounce extra light back onto the couple)
xxx
I hope these little tips help you create some amazing beachy images! Feel free to leave questions or comment below.

[…] day portraits need to take place during a less-than-ideal time and even more frequently when I shoot beach sessions. 90% of the time I have my subjects backlit which can mean shooting directly into the sun. At […]